Admin
 Design, UX
 0 comment
 13 Jul, 2025

What does it take to deliver an amazing user experience (UX)? A seamless design process, of course.
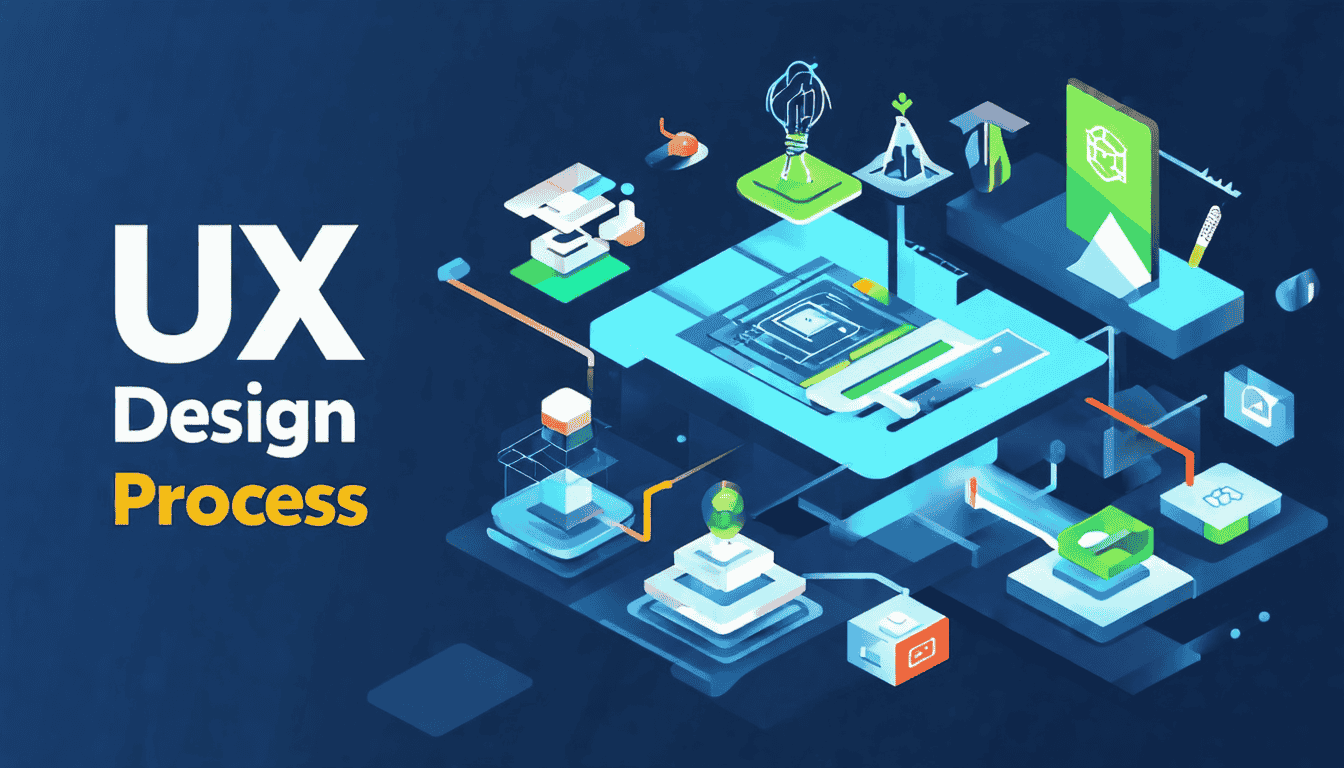
The UX design process is a cycle that leads to the creation of products that align with users’ needs to create a more satisfying, intuitive experience. It entails:
Everything in this process — from research and prototyping to testing and continuous improvement — helps build better user experiences. Mastering these concepts will enhance your career and help you stand out from other candidates.
In this article, we’ll discuss the key stages of UX design and how you can launch a career in this exciting field.
The UX design process refers to the steps required to create intuitive digital experiences. Examples of where this process can be applied include:
Ideally, the UX design process bridges the gap between products and the people who use them. To do this, designers focus on enhancing usability and accessibility (how easy to use an experience is by people of all abilities, including those with disabilities), and improving user satisfaction.
This process is made up of several steps, and each helps you create a product that looks and helps your user achieve their goal.
The steps of the UX design process include research, ideation, design, prototyping, testing, and iteration. Let’s explore each of these steps in depth.
This step represents the foundation of UX design and begins when you define the product, why you’re creating it, and the user needs you are solving for. It usually involves meetings with product managers, engineering, and other stakeholders to establish a general outline of your goals.
At this stage, you’ll seek to understand what users need by conducting interviews, surveys, usability studies, and analyzing industry trends and competitor products. This helps you map out a user’s journey from the moment they recognize they have a need to the many ways they’ll interact with your experience in search of a solution to address that need.
From here, you can create user personas to represent target audiences. These personas are based on your product users and their goals, behaviors, and pain points. They help you and your team build empathy for the user and evaluate potential solutions from their perspective throughout the UX design process.
Once you have a firm understanding of who will use your product and the problems you need to solve for, you’ll need to figure out the best way to structure your content. Think about the various pathways that a user might take through your experience, and which pages or pieces of content are the most relevant to each stage of the user journey.
You can create wireframes to help organize your website, structure your content hierarchy, and map out the concepts you want to convey in your experience.
Now, it’s time to bring your concepts and wireframes to life. Develop a user interface (UI) that allows you to test user interaction and create a prototype.
Color, typography, and branding play important roles as you design a UI, but at this stage focus on functionality and the concepts you are trying to convey to the user. Play around with design options using tools such as Figma. They let you create interactive prototypes that simulate user interactions.
Put your UX design to the test to make sure it matches user expectations. A/B testing and usability studies give you a glimpse into your design’s strengths and weaknesses. They provide user insights to help you refine your design so you can deliver better experiences.
You should also test your UX design with real users. This gives you feedback directly from those who will use the product once it goes live. Incorporate their feedback into your product to boost your chances of a successful launch.
This process is not always linear. You may have to go back and forth between designing, prototyping, and testing utility to achieve the level of quality you desire.
While designers are responsible for providing detailed design specifications and assets, you don’t have to tackle the UX design process alone. Developers help prepare documentation, and specifications with you. You will also work with developers to ensure accurate implementation of the design and address any feasibility changes. Additionally, this is when you will take any low-fidelity designs to high-fidelity.
Just because you’ve launched your product doesn’t mean you’re finished with the UX design process. This process is ongoing — and your design will need to evolve as user needs do.
Tracking analytics and gathering feedback allows you to update your design with accessibility and performance enhancements. Additional testimonials and surveys can also provide helpful, qualitative feedback. Look for ways to take your product to the next level.
Commit to continuously learning and growing your skill set and knowledge base. To begin, enroll in online UX design courses.
Admin
0 comment